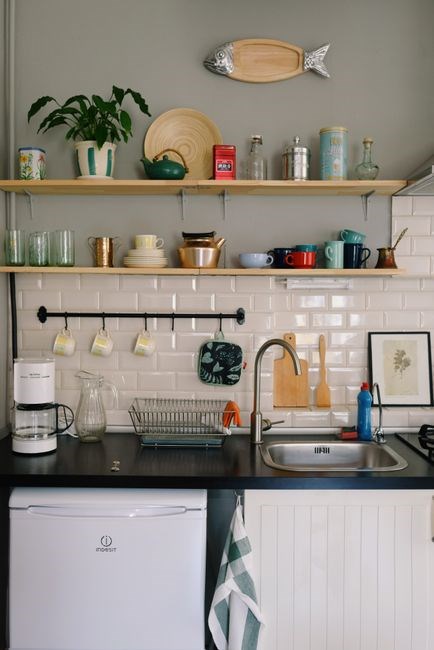
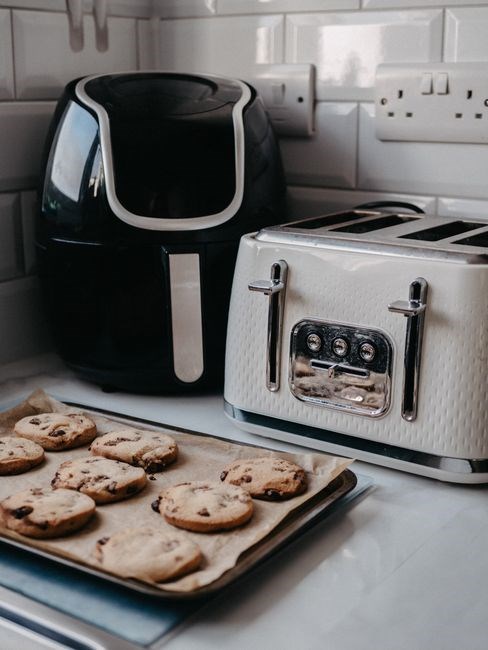
Safety and Precautions
Do not reuse airtight cooking bags or vacuum boxes. Avoid removing the basket mid‑cook; it lowers temperature and can disturb preset settings. Keep the unit dry, use only approved accessories, and follow the manual’s safety warnings to prevent hazards. Read the manual for safety.!!!
Do Not Reuse Airtight Cooking Bags
Using airtight cooking bags in the Tefal Dual Easy Fry may seem convenient, but the appliance’s design and safety guidelines advise against reusing them. The bags are engineered for single‑use only; after one cooking cycle, micro‑tears can develop, allowing hot air to escape and creating uneven heat distribution. This reduces cooking efficiency and can lead to hot spots that damage the basket or heating element. The plastic is not rated for repeated exposure to high temperatures; re‑use can soften, warp, or release harmful compounds into the food. The Tefal manual states that “reusing airtight cooking bags may compromise food safety and appliance performance.” Vacuum boxes or sealed containers are not designed for the rapid pressure changes during air‑frying; a vacuum box can trap air, causing the bag to collapse or rupture, which may splatter hot oil or food particles. By following the single‑use rule, you preserve the fryer’s temperature control system, maintain consistent results, and protect your health. If a bag becomes stiff or shows visible cracks, discard it immediately. Reusing compromised bags can affect safety sensors, potentially triggering error codes or shutting down the unit to prevent overheating. Warranty and safety certifications depend on proper use; violating guidelines may void coverage. Use only Tefal‑approved bags to maintain optimal cooking quality. By adhering to the single‑use policy, you ensure each cooking session starts with a clean, airtight environment, allowing the Dual Easy Fry to deliver consistent, crisp results every time. Always discard used bags and replace them with fresh, Tefal‑approved containers or parchment paper when preparing your next batch.
Do Not Use Vacuum Boxes
Vacuum boxes are not designed for the rapid temperature fluctuations and pressure changes that occur inside a Tefal Dual Easy Fry. The sealed environment can trap air, causing the box to expand or collapse when the fryer heats up, which may lead to leaks, splattering of hot oil, or even rupture of the container. This not only poses a safety risk to the user but also compromises the fryer’s temperature control and can trigger error codes. The appliance’s safety sensors detect abnormal pressure or temperature variations, and the unit may shut down to prevent damage. Additionally, using a vacuum box can interfere with the airflow that is critical for even cooking; the fryer relies on a consistent airflow pattern to circulate hot air around the food. A vacuum box disrupts this pattern, leading to uneven cooking, soggy or under‑cooked spots, and reduced crispness. The Tefal manual explicitly warns against using vacuum boxes or any sealed containers that are not specifically approved for air‑frying. To maintain optimal performance, safety, and food quality, always use the recommended Tefal‑approved cooking bags or parchment paper, and avoid any vacuum‑sealed packaging. The fryer will stay safe and efficient for you!! By adhering to guidelines, you ensure performance daily and safety!!
Initial Setup and Power Check
Before first use, confirm the appliance matches your local voltage and plug type. Plug the fryer into a working outlet, then press the power button. A steady LED indicates proper power; a blinking or red light signals a fault. If fault unplug service.
Check Electrical Socket Compatibility
Before connecting your Tefal Dual Easy Fry to any outlet, verify that the appliance’s voltage rating matches your local supply. The unit is rated for 220–240 V, 50 Hz in most markets, but some models are 110–120 V, 60 Hz. If you are in a region with a different voltage, use a suitable step‑down or step‑up transformer to avoid over‑voltage damage.
Next, examine the plug type. In Europe, the appliance uses a Type C or Type F plug; in the United States, a Type A or Type B plug is required. If the plug does not fit the socket, purchase an adapter that complies with local electrical codes. Do not force the plug; a loose connection can cause arcing and fire.
Once the plug is correctly fitted, test the outlet with another small appliance, such as a lamp, to ensure the socket is functioning. If the lamp lights, the outlet is ready. If it does not, check for tripped breakers or blown fuses and reset or replace as needed.
Finally, after confirming voltage, plug type, and outlet functionality, power on the fryer. A steady LED should illuminate, indicating the unit has detected a proper supply. If the LED remains off or flashes, double‑check the connection and consult the user manual or customer support before proceeding.
Keep the fryer away from water, children, and pets. Store it dry, away from flammables. Follow safety guidelines for a secure cooking experience and keep it cool.!!
Verify Power Indicator
After you have confirmed that the appliance is correctly plugged into a compatible socket, turn the main power switch to the ON position. The Tefal Dual Easy Fry uses a multi‑color LED panel to communicate its status. When the unit receives power, a steady amber light should appear, indicating that the internal electronics are initialized. If the light is red, the appliance has detected a fault such as an over‑temperature condition or a short circuit; in this case, unplug the unit, wait a few minutes, and then power it back on. A green light that blinks once every second means the fryer is ready for cooking. If the LED remains off or flickers irregularly, the power supply may be unstable or the internal fuse may have blown. In such a scenario, check the outlet with another device, reset the breaker, and try again. For advanced diagnostics, press and hold the power button for three seconds; the LED should flash three times to confirm the unit has entered a reset mode. If the indicator still does not respond, consult the troubleshooting section of the manual or contact customer support for further assistance. Always ensure that the fryer is placed on a flat, heat‑resistant surface and that the surrounding area is clear of flammable materials before powering on. Proper verification of the power indicator helps prevent accidental overheating and ensures a safe cooking experience. If the indicator remains in a constant amber state for more than 30 seconds, this signals a persistent power issue; in such a case, disconnect the unit, inspect the power cord for kinks or damage, and replace it if necessary. The user manual also recommends performing a quick self‑diagnostic by cycling the power 5 times, which can clear transient errors. Remember that the appliance’s safety interlock will disable the motor if the basket is not properly seated, and the LED will turn off immediately. By routinely checking the power indicator before each use, you can catch potential problems early and avoid costly repairs. Check the indicator after each use to confirm function quick.!!
Basic Operation
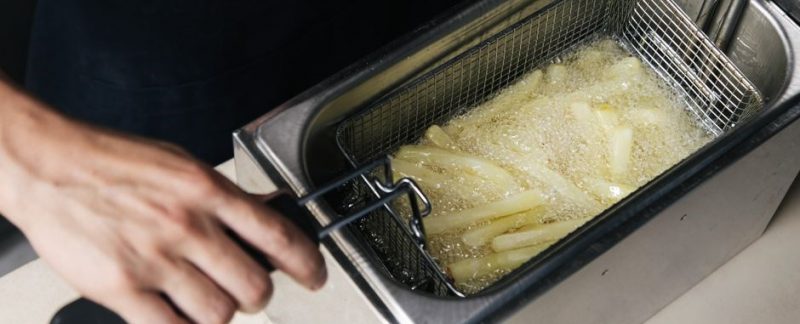
Place the basket inside the fryer, close the lid, and select a cooking mode using the control panel. For a custom setting, set the temperature between 80 °C and 200 °C and the timer to the desired duration; Press the start button; the unit will pre‑heat, indicated by a steady amber light. While cooking, the fan circulates hot air at 180 °C, giving a crisp exterior and moist interior. Arrange food in a single layer to avoid overcrowding. When the timer ends, a chime signals completion and the fryer enters standby mode, keeping the temperature just above 50 °C. Wait for the indicator to turn green before removing the basket. Use oven mitts to protect your hands. After use, let the unit cool for at least 10 minutes, then wash the basket and tray with warm soapy water, rinse, and dry. Do not immerse the main unit in water. Regular cleaning and proper use extend the appliance’s lifespan and ensure safe, efficient cooking. The fryer’s built‑in safety interlock prevents operation if the basket is not fully seated, and the automatic shut‑off feature activates after the preset time to avoid overheating. For optimal results, preheat the basket for 2 minutes before adding food, and shake the basket halfway through the cooking cycle to promote even browning. If you are using frozen items, do not thaw them; the appliance will cook them directly from frozen, ensuring crispness. Remember to keep the door handle free of food residue to maintain a good seal. Finally, always unplug the unit when not in use and store it in a dry place to preserve its longevity. Enjoy your meal!.
Cooking Modes and Features
Choose from Air‑Fry, Roast, Reheat, and Bake. The SYNC mode syncs both trays for simultaneous cooking. Auto‑heat, timer, and temperature controls allow precise settings. The smart app offers preset recipes for convenience. Use timer for crisp results.!!
SYNC Mode for Dual Draws
When you have two trays, the SYNC mode ensures that both heat up and cook at the same time, allowing you to prepare a main dish and a side simultaneously. To activate SYNC, press the SYNC button on the control panel. The display will show “SYNC” and both trays will light up. Then set the desired temperature and time for each tray. The unit will automatically adjust the fan speed and heat distribution so that the food in both trays finishes together. This is especially useful for dishes that require different cooking times; you can set the longer time on one tray and the shorter on the other, and the SYNC function will keep the overall cycle balanced.
SYNC mode is ideal for preparing complementary dishes. To use it, first load each tray with food that has similar cooking times. If you are cooking a protein in one tray and vegetables in the other, set the longer time on the protein tray and the shorter on the vegetable tray; the SYNC feature will keep the overall cycle balanced. Always preheat the unit for a few minutes before adding food. After cooking, let the unit cool before removing the trays. Clean the trays with warm soapy water and dry them thoroughly. This ensures that the next cooking session starts with a clean surface and prevents cross‑contamination. For best results, avoid placing very hot or very cold items together, as this can cause temperature spikes. Also, do not overload the trays; leave space for air circulation. Keep trays clean. Dry so.
Food Preparation Tips
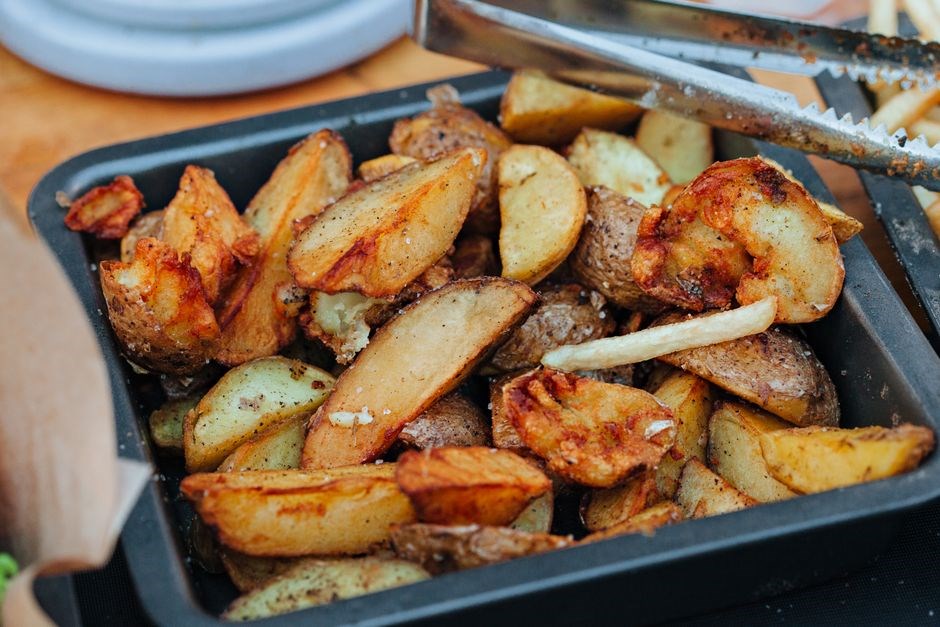
Cut food into uniform pieces to ensure even cooking. Use a light spray of oil to promote crispness, but avoid excess. Arrange items in a single layer, leaving space for air flow. Do not overcrowd the basket, and preheat the unit for best results. Keep the basket dry and avoid utensils
Cut Food to Uniform Size
When preparing ingredients for Tefal Dual Easy Fry consistency is paramount. Slice potatoes, carrots, or other vegetables into pieces that match in diameter and thickness—ideally 1–1.5 cm. This uniformity ensures each item receives the same amount of hot air, resulting in even browning and crispness. Use a sharp knife or mandoline slicer for precision, and avoid cutting too thin, which can cause sogginess, or too thick, which may leave the interior undercooked. For frozen items, let them thaw slightly so they hold shape during slicing. When working with proteins, trim excess fat and cut into equal portions; this not only speeds up cooking but also helps the appliance maintain a stable temperature. A good rule of thumb is to keep the pieces within a 10 % size variance; a small difference is acceptable, but large discrepancies will produce uneven results. Arrange the cut pieces in a single layer on the basket, leaving a small gap between each item to allow air circulation. Overcrowding can trap steam and prevent crisping. If you need to cook a large batch, do it in two loads, ensuring each load is balanced. Finally, before cooking, lightly spray or brush the uniform pieces with a neutral oil to promote a golden finish, but keep the amount minimal to avoid excess moisture. Following these steps will give you consistently crisp, evenly cooked results every time. Double‑check the size before placing items in the basket.

Troubleshooting
If the unit shows an error code, unplug for 30 s, then reset by pressing the reset button. For a fresh start, press and hold the start button until the display flashes. If the problem persists, consult the manual or contact support. Check power cord if blankyes.
Resetting the Dual Easy Fry
To begin a new cooking session, press and hold the start button until the display flashes. This clears any previous settings and returns the appliance to its default state. If the fryer does not respond, unplug the unit for 30 seconds, then plug it back in. Once power is restored, the indicator light will turn on, confirming readiness. For a hard‑reset, press the reset button located on the control panel for 5 seconds; the display will show a reset confirmation. After resetting, set the desired temperature and time, then load the basket. Always ensure the basket is securely in place before starting. If error codes appear after a reset, consult the troubleshooting section or contact customer support. Proper resetting helps maintain accurate cooking times and prevents overheating or mis‑programming. Follow these steps each time you want to start fresh, and keep the user manual handy for reference. This procedure ensures consistent performance and extends the appliance’s lifespan.
Before resetting, ensure the appliance is unplugged for at least 30 seconds to allow the components veryto cool. If you encounter error codes, refer to the troubleshooting guide or contact the customer service. Resetting the Dual Easy Fry clears error states but recalibrates the temperature sensors, optimal cooking performance for each session. Remember to keep the user manual within reach for reference during resets or when adjusting
Resources and Support
For additional help with your Tefal Dual Easy Fry, consult the official user manual, available for download in PDF format from the Tefal website. The manual contains detailed specifications, safety instructions, and a comprehensive FAQ section that addresses common issues such as error codes, temperature calibration, and cleaning procedures. If you prefer video guidance, the manufacturer’s YouTube channel offers step‑by‑step tutorials on setting up the appliance, selecting cooking modes, and troubleshooting. For personalized assistance, contact Tefal customer service via the online chat portal or by calling the dedicated support hotline. International customers can also access region‑specific resources, including language‑adapted manuals and local repair centers. When contacting support, have your product model number (EY901H) and purchase receipt handy to expedite service. If the unit is still under warranty, schedule a repair or replacement through an authorized service center. For community support, join the Tefal user forum where experienced users share tips, recipes, and maintenance hacks. Finally, keep your firmware updated by checking the app for the latest software releases, ensuring optimal performance and new feature access. For further assistance, visit official Tefal website’s support page, where you can download firmware updates, access community forums, and find detailed troubleshooting guides tailored to your specific model!